Listing coordination is where great agents separate themselves from good ones. The difference between a home that sells in 5 days at asking price and one that lingers for 45 days with two price reductions often comes down to preparation — not pricing, not marketing, not luck. It's the systematic, detail-oriented work that happens in the 4–6 weeks before a listing goes live.
"The listing agents who consistently outperform don't have better marketing or lower commission rates. They have better preparation processes."
Phase 1: Initial consultation (6–8 weeks before listing)
The preparation process begins the moment you sign the listing agreement — and ideally, before that. The initial walkthrough sets the foundation for everything that follows.
Property assessment
- Walk every room with the seller. Take notes and photos. Identify condition issues, deferred maintenance, and areas that need attention before listing.
- Evaluate curb appeal. Stand at the street and assess the exterior through a buyer's eyes. What needs to be addressed? (See our curb appeal guide for specific recommendations.)
- Assess staging needs. Will the home be vacant, occupied, or partially furnished? Each scenario requires a different approach. Request a Smart Quote to get staging recommendations and pricing within hours.
- Review comparable sales. Pull comps for a preliminary pricing discussion. This informs how much to invest in pre-listing preparation — a home priced at $400K may not justify the same staging budget as a $1.2M property.
- Establish the timeline. Work backward from the target listing date to create a preparation schedule with clear milestones.
Seller homework
- Provide seller disclosures. The sooner these are completed, the fewer surprises during escrow.
- Gather documentation: warranties, permits for any work done, HOA documents, utility cost history, recent appraisals or surveys.
- Begin decluttering. Share our room-by-room decluttering checklist as a starting point. Recommend renting a storage unit if needed.
- Identify personal property vs. fixtures. Clarify what stays and what goes before listing to avoid conflicts.
Phase 2: Repairs and improvements (4–6 weeks before listing)
This is the phase where you invest strategically in the property's condition. Not every repair is worth making — the goal is to address issues that will either kill deals in inspection or cause buyers to discount their offers.
Priority repairs (must-do)
- Fix all safety issues: Missing handrails, non-functioning smoke detectors, exposed wiring, trip hazards. These are non-negotiable.
- Address water damage: Stains on ceilings or walls, soft spots in flooring near tubs/sinks, musty smells in basements. Buyers (and inspectors) are hyper-sensitive to water issues.
- Repair or replace broken fixtures: Leaky faucets, cracked light switches, broken door handles, non-latching doors. These small items signal deferred maintenance.
- Roof inspection: If the roof is 15+ years old, a pre-listing roof inspection ($200–$400) gives you the option to address issues proactively rather than reactively during buyer negotiations.
High-ROI improvements
- Fresh paint: As detailed in our paint colors guide, the right neutral palette is one of the highest-ROI pre-listing investments, returning an average of 107%.
- Kitchen hardware: Replacing dated cabinet hardware with modern pulls ($3–$5 per pull) transforms the look of an entire kitchen for under $100.
- Light fixtures: Replacing builder-grade "boob lights" with modern flush-mounts ($25–$60 each) is one of the most impactful inexpensive upgrades.
- Professional deep cleaning: Hire a cleaning crew for a thorough, top-to-bottom deep clean. Windows (inside and out), baseboards, grout, appliances, light fixtures, ceiling fans — everything.
- Carpet cleaning or replacement: If carpet is in reasonable condition, professional cleaning ($150–$300) is sufficient. If it's stained, worn, or dated, replacement ($3–$6/sq ft installed) is a strong investment.
- Landscaping refresh: Fresh mulch, edging, and seasonal color. Budget $100–$200 for a meaningful improvement.
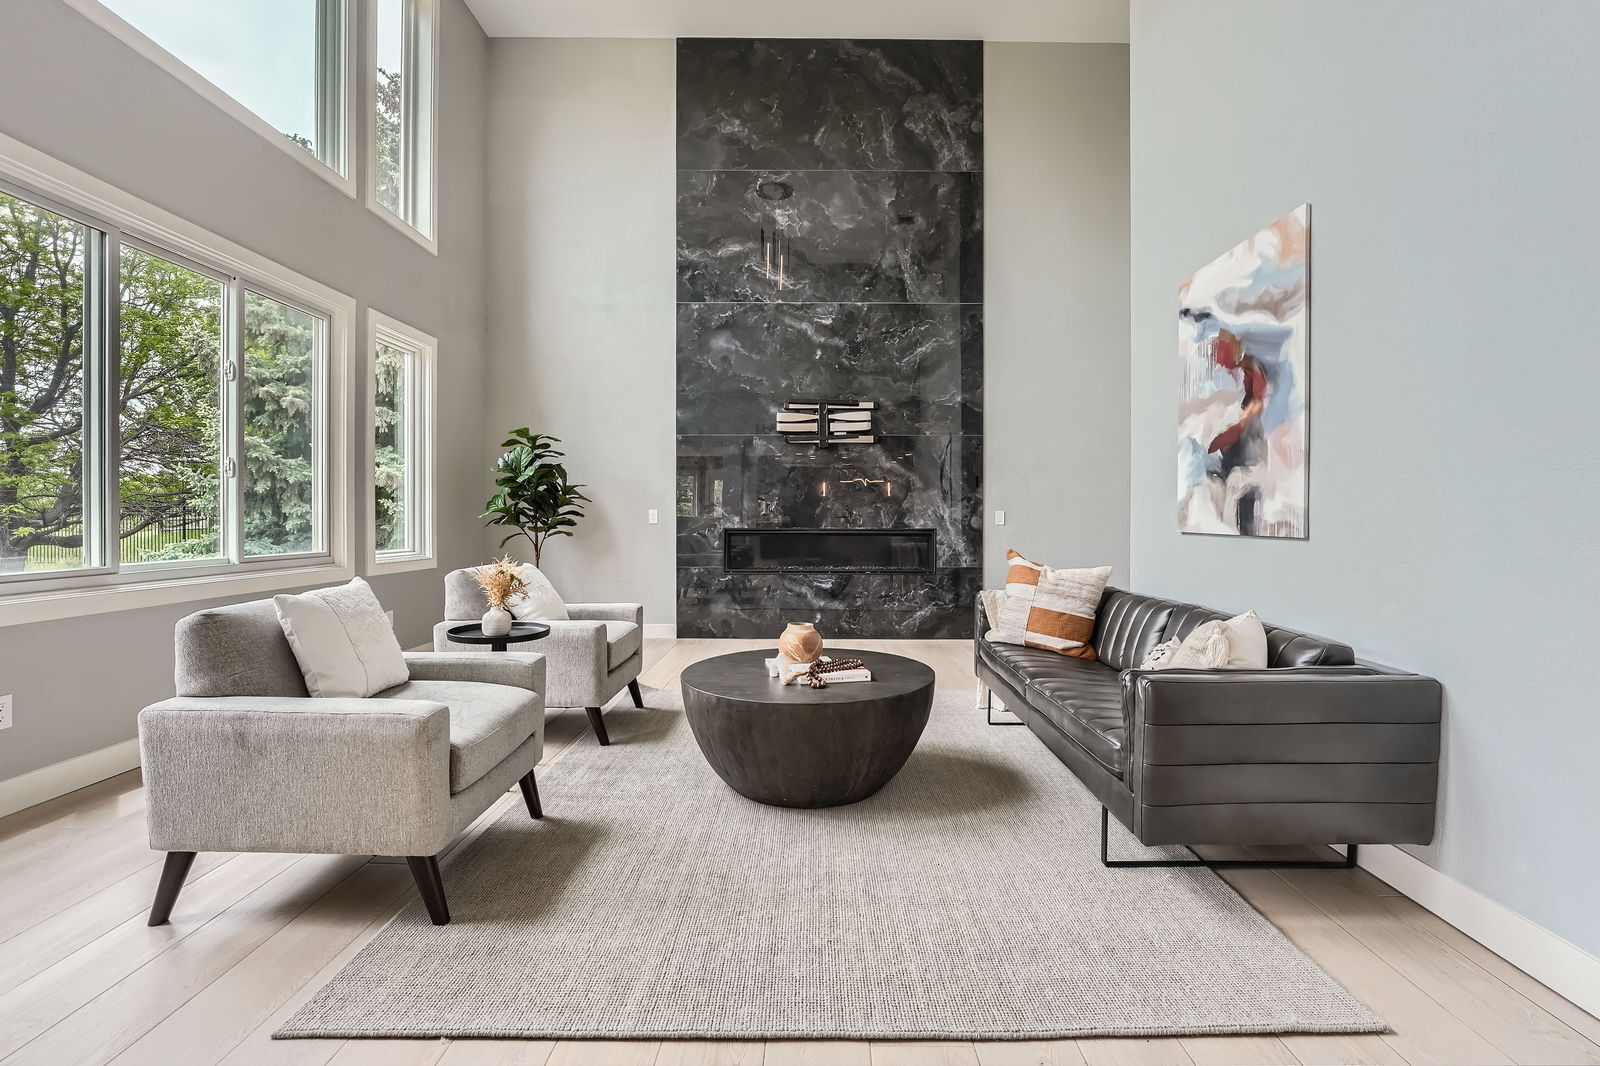
Phase 3: Staging and styling (2–3 weeks before listing)
With repairs complete and the home decluttered and clean, it's time to bring in the staging team. This is where the property transforms from "prepared" to "compelling."
For vacant homes
- Schedule full-service staging. Professional staging of a vacant home typically takes 1–2 days for furniture delivery and installation. Plan for this to happen 5–7 days before listing, allowing time for photography afterward.
- Confirm staging scope. At minimum, stage the living room, kitchen/dining area, primary bedroom, and one additional room. Budget allowing, stage every room that will be photographed.
- Coordinate access. Ensure the staging team has lockbox codes, garage access, and parking arrangements — especially important in urban markets like downtown Denver or San Diego.
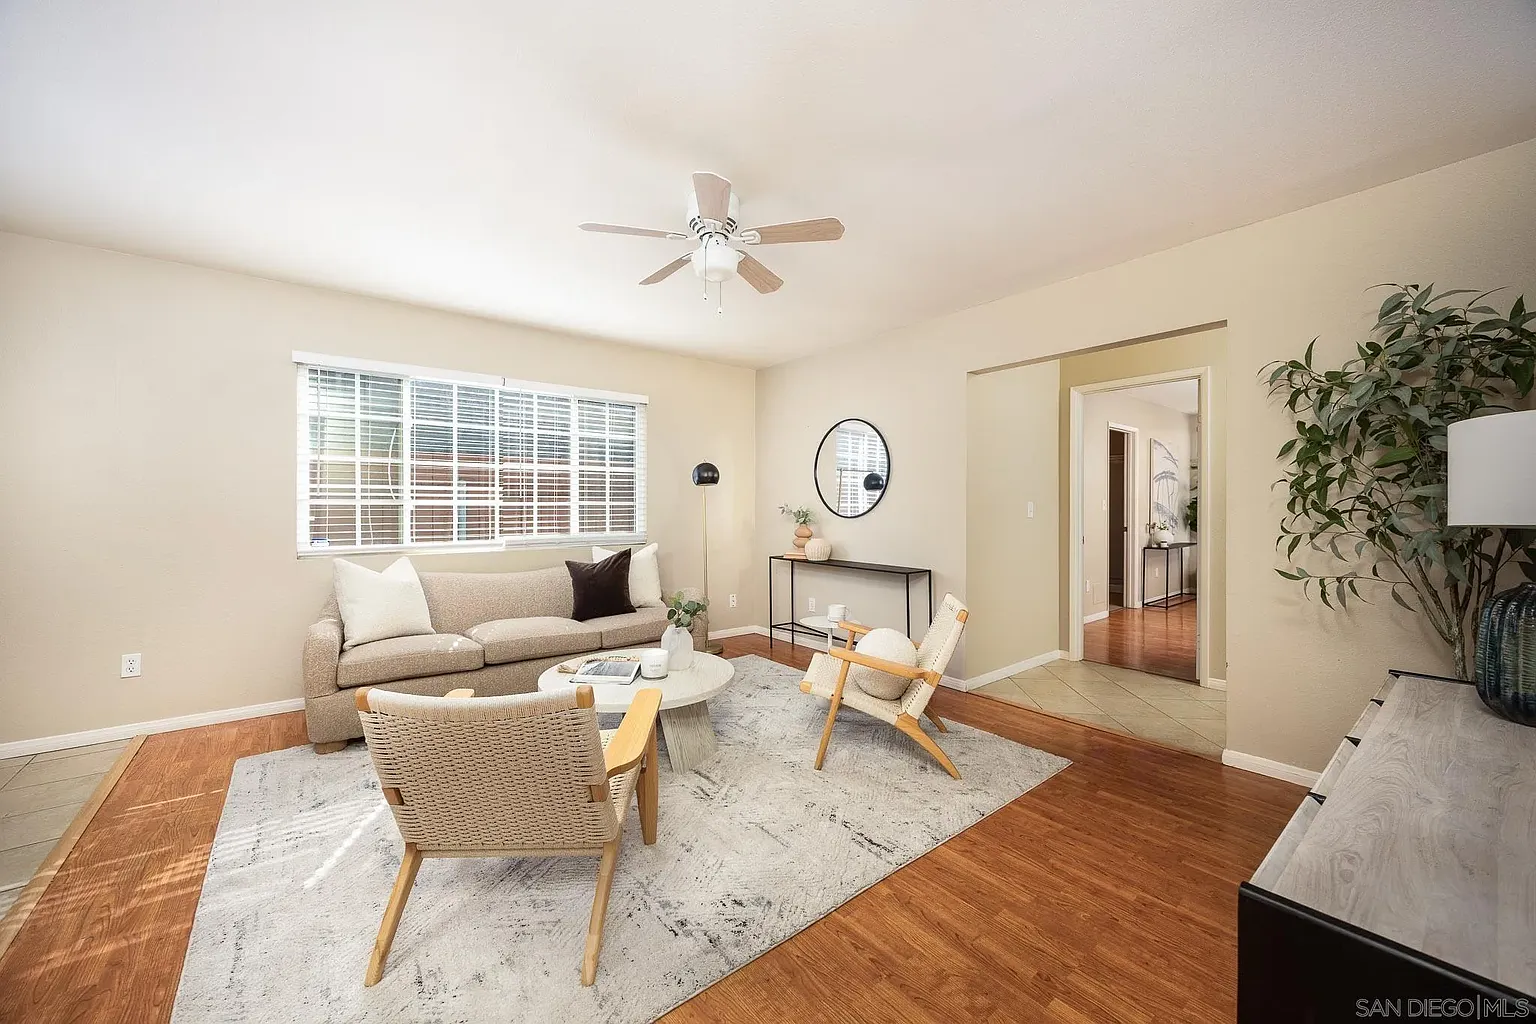
For occupied homes
- Schedule an in-person styling consultation. A professional designer will walk the home with the seller, create a room-by-room plan using existing furnishings, and recommend rental pieces or accessories to fill gaps.
- Coordinate rental furniture delivery. If supplemental pieces are needed, arrange delivery and placement before photography day.
- Prepare the seller for ongoing showing readiness. Provide a "15-minute showing prep" checklist they can follow each time a showing is scheduled.
For agents who need design direction
- Use expert design advice for remote consultations that provide specific, actionable recommendations. This is ideal for out-of-market listings or properties where full staging isn't in the budget.
Phase 4: Marketing preparation (1–2 weeks before listing)
With the home staged and showing-ready, it's time to create the marketing assets that will generate buyer interest.
Photography
- Hire a professional real estate photographer. This is not optional. Professional photos generate 118% more online views than amateur photos (according to Redfin). Budget $200–$500 depending on property size and market.
- Schedule the shoot for optimal light. Typically late morning to early afternoon for interior shots. Golden hour (1–2 hours before sunset) for exterior shots.
- Stage the shoot: Open all blinds, turn on all lights (all bulbs matching in color temperature), remove all cars from the driveway, turn off all screens/TVs, ensure every room is in showing condition.
- Order twilight shots for luxury listings or homes with dramatic exterior lighting.
Video and virtual tours
- Video walkthrough: A 60–90 second property video for social media and listing sites. This is increasingly expected by buyers in all markets.
Written materials
- Write a compelling listing description. Lead with the lifestyle, not the specs. "Wake up to mountain views from your primary suite" outperforms "4BR/3BA with mountain views" every time.
- Prepare a property feature sheet. A professionally designed PDF highlighting key features, recent upgrades, and neighborhood amenities.
- Compile neighborhood data: Walk score, school ratings, proximity to parks/trails/shopping, upcoming development that might affect value positively.
Phase 5: Pre-launch (3–5 days before listing)
- Final walkthrough. Walk the property one more time with fresh eyes. Check for any items missed during preparation.
- Verify all utilities are on and functioning (especially important for vacant properties).
- Install lockbox and verify access codes.
- Set up showing management through your preferred platform (ShowingTime, Calendly, etc.).
- Prepare showing instructions for buyer's agents: parking, entry protocol, any restricted areas, pet considerations.
- Stock showing supplies: Fresh flowers on the entry table, subtle scent (diffuser or candle), bottled water for agents, property brochures, business cards.
- Schedule open houses for the first weekend after listing. Alert your agent network.
Phase 6: Launch day
- Verify the listing is live on MLS and syndicating correctly to Zillow, Realtor.com, Redfin, and Homes.com.
- Publish social media content: Instagram carousel, Facebook listing post, email blast to your buyer database.
- Send "just listed" mailers to the neighborhood (optional but effective in tight-inventory markets).
- Confirm first-weekend showing schedule and ensure the home is in pristine condition for early showings.
- Collect and relay feedback from each showing to the seller within 24 hours.
"Launch day shouldn't be stressful — it should be the natural result of 4–6 weeks of systematic preparation. If you've followed the checklist, the home is ready."
Downloadable checklist
Want to keep this checklist handy for every listing? We've created a downloadable PDF version that you can print and use for each new listing. It includes checkboxes, space for notes, and timeline planning grids.
Get a Smart Quote to see what's recommended for your next listing — it takes less than two minutes, and the staging recommendation is customized to the property's specific needs.