
Great staging deserves great photography
You can stage a home perfectly -- every pillow placed, every sight line considered, every room designed to appeal to the target buyer -- and still fall flat if the photography does not capture the magic. The listing photos are the first (and sometimes only) impression a buyer gets of your property. They determine whether a buyer schedules a showing or scrolls to the next listing. And in markets as competitive as Denver, San Diego, and LA, that first impression can mean the difference between a bidding war and a price reduction.
Our creative team at Guest House photographs hundreds of staged homes every year. We have learned what works, what does not, and what separates adequate real estate photography from images that stop buyers mid-scroll. Here is everything we know about capturing staged homes at their absolute best.
Before the shoot: preparation is everything
Timing matters more than you think
The time of day you photograph a home dramatically affects the quality of the images. Our general guidelines by market:
- Denver and Boulder: Shoot between 10 a.m. and 2 p.m. for the best natural light. Colorado's altitude creates intense, crisp light that works beautifully in midday.
- LA: The golden hour (1-2 hours before sunset) produces stunning results, especially for homes with west-facing views or outdoor entertaining spaces.
If the home has a standout feature -- a mountain view, a pool, a dramatic entryway -- plan the shoot around when that feature looks its best. A west-facing backyard with a pool should be photographed in the afternoon when the sun illuminates the water and the view. An east-facing living room with floor-to-ceiling windows deserves morning light.
The pre-shoot checklist
Before the photographer arrives, walk every room and check:
- All lights on. Every single light in the home should be on, including under-cabinet lights, closet lights, and exterior fixtures. Mixed lighting (natural plus artificial) creates warmth and dimension.
- Window treatments open. Blinds up, curtains pulled to the sides. You want maximum natural light. The only exception is windows that face directly into a neighbor's wall or a less-than-ideal view.
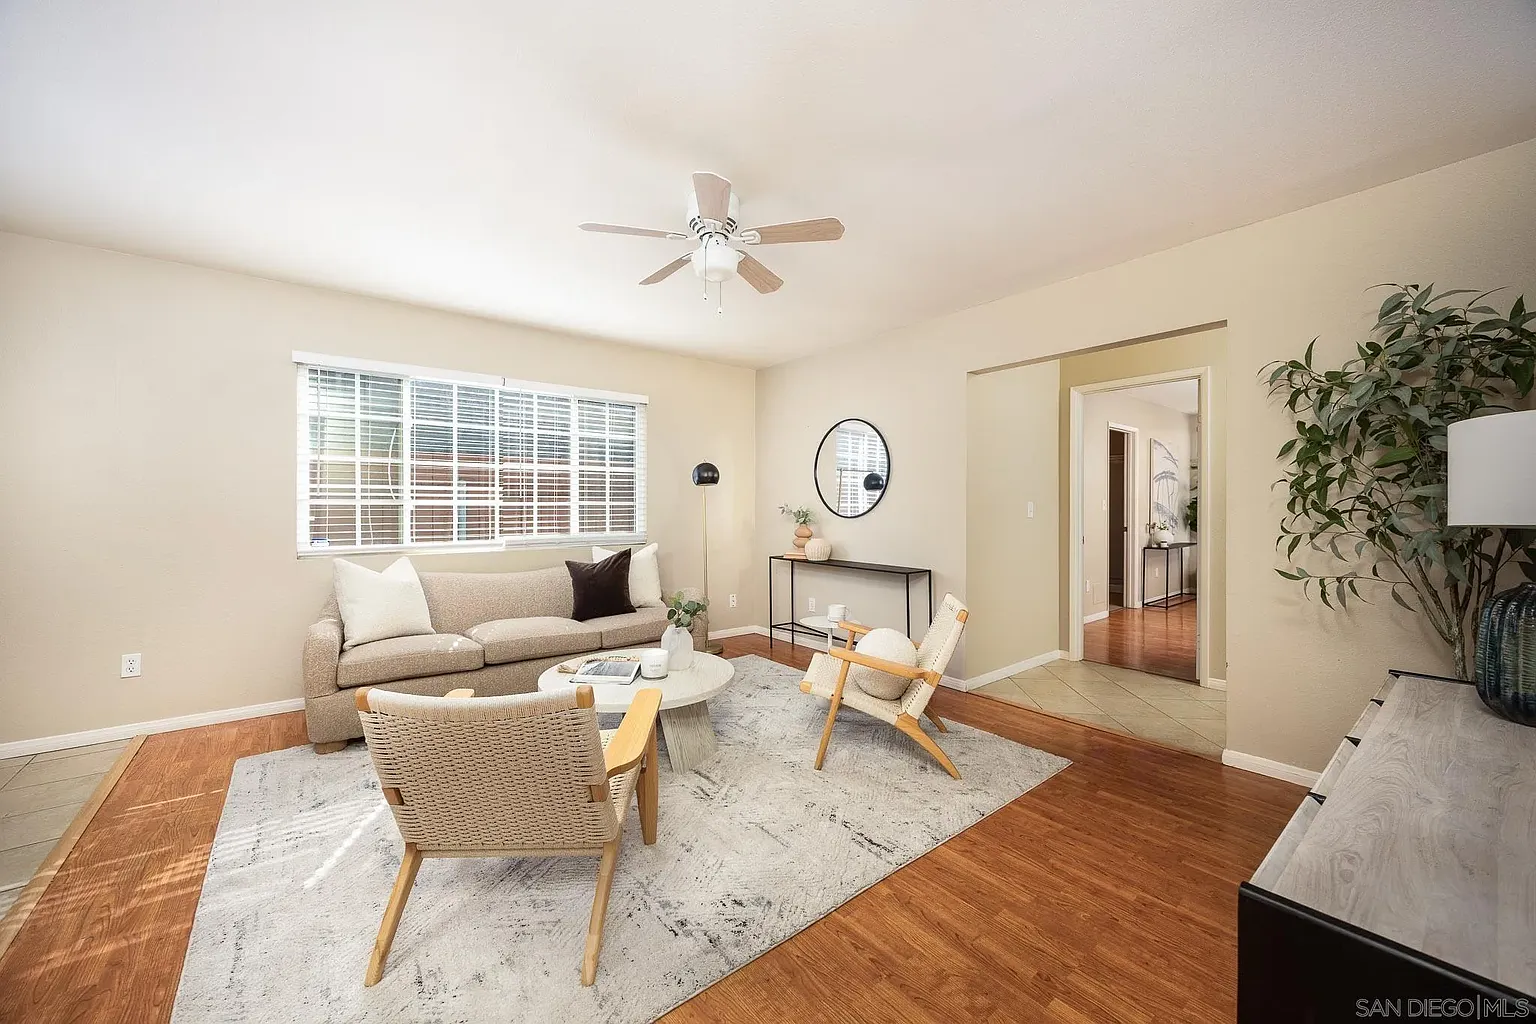
- Ceiling fans off. Fans in motion create blur in photos and distract from the room. Turn them all off before the shoot.
- TV screens off. Any screen -- TV, computer, tablet -- should be powered down. Screens create distracting glare and pull focus from the room.
- Toilet lids down. In every bathroom. This is non-negotiable and surprisingly easy to forget.
- Garage door closed. Unless the garage has been staged or is remarkably clean.
- Cars removed from driveway. The exterior shot should show the home, not the owner's vehicles.
Ninety percent of great real estate photography happens before the camera comes out. Preparation, lighting, and staging are everything -- the camera just captures what is already there.
Composition: how to frame each room
The two-wall rule
The most effective real estate photographs typically show two walls of a room -- creating depth and dimension without distortion. Shooting from a corner and framing two walls at roughly equal proportions gives the viewer an accurate sense of the room's size and layout. Avoid the temptation to capture three walls, which often requires an ultra-wide lens and creates a fish-eye distortion that makes rooms look artificial.
Camera height
For most rooms, the ideal camera height is about chest level -- roughly 4 to 4.5 feet off the ground. This is high enough to see over furniture and into the room, but low enough to maintain a natural perspective. The exception is kitchens and bathrooms, where shooting slightly higher (5 feet) helps show countertops and fixtures more effectively.
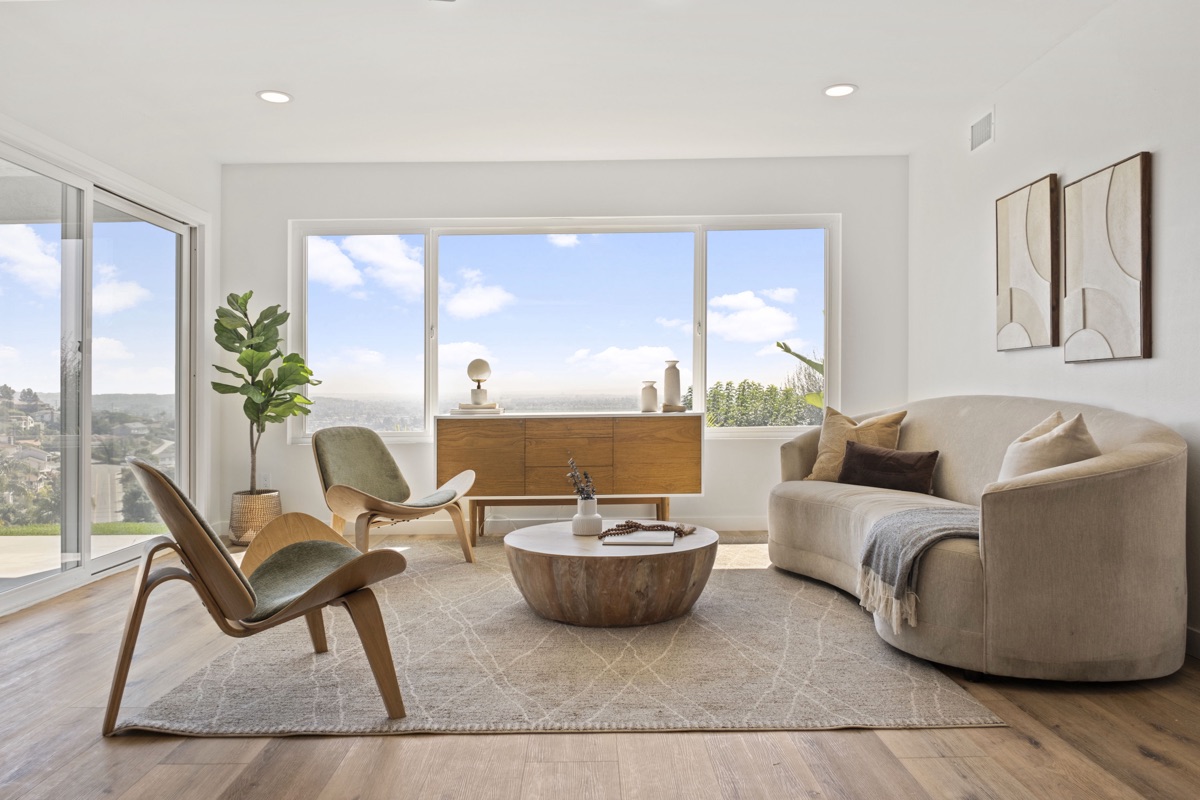
Shoot into the light
Conventional photography wisdom says to keep the light source behind you. Real estate photography often works better with the light source in the frame -- especially when windows are a feature of the room. Modern HDR processing can handle the exposure range, and shooting toward the windows creates a bright, airy quality that buyers find irresistible.
That said, direct sunlight streaming through windows can create hot spots and deep shadows that even HDR struggles with. Overcast days or diffused light produce the most consistent results across all rooms.
Key shots for each room type
Our creative team follows a standard shot list for every staged home:
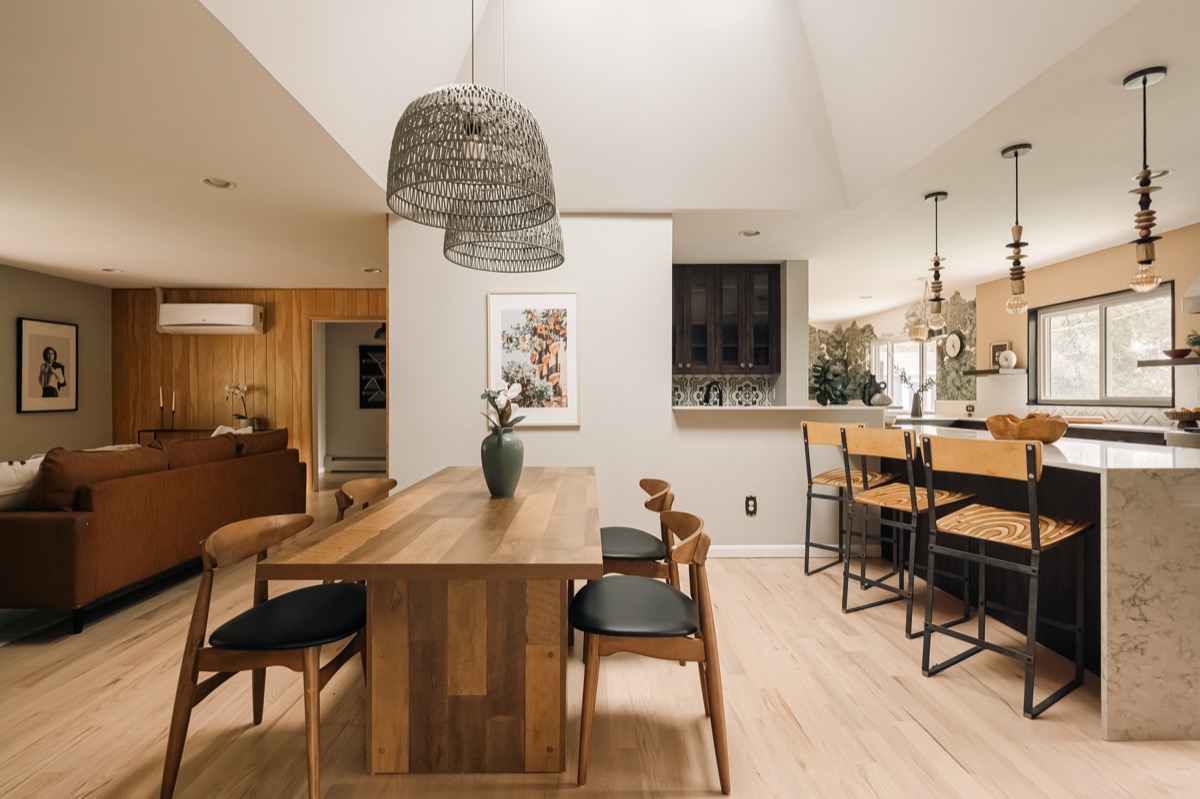
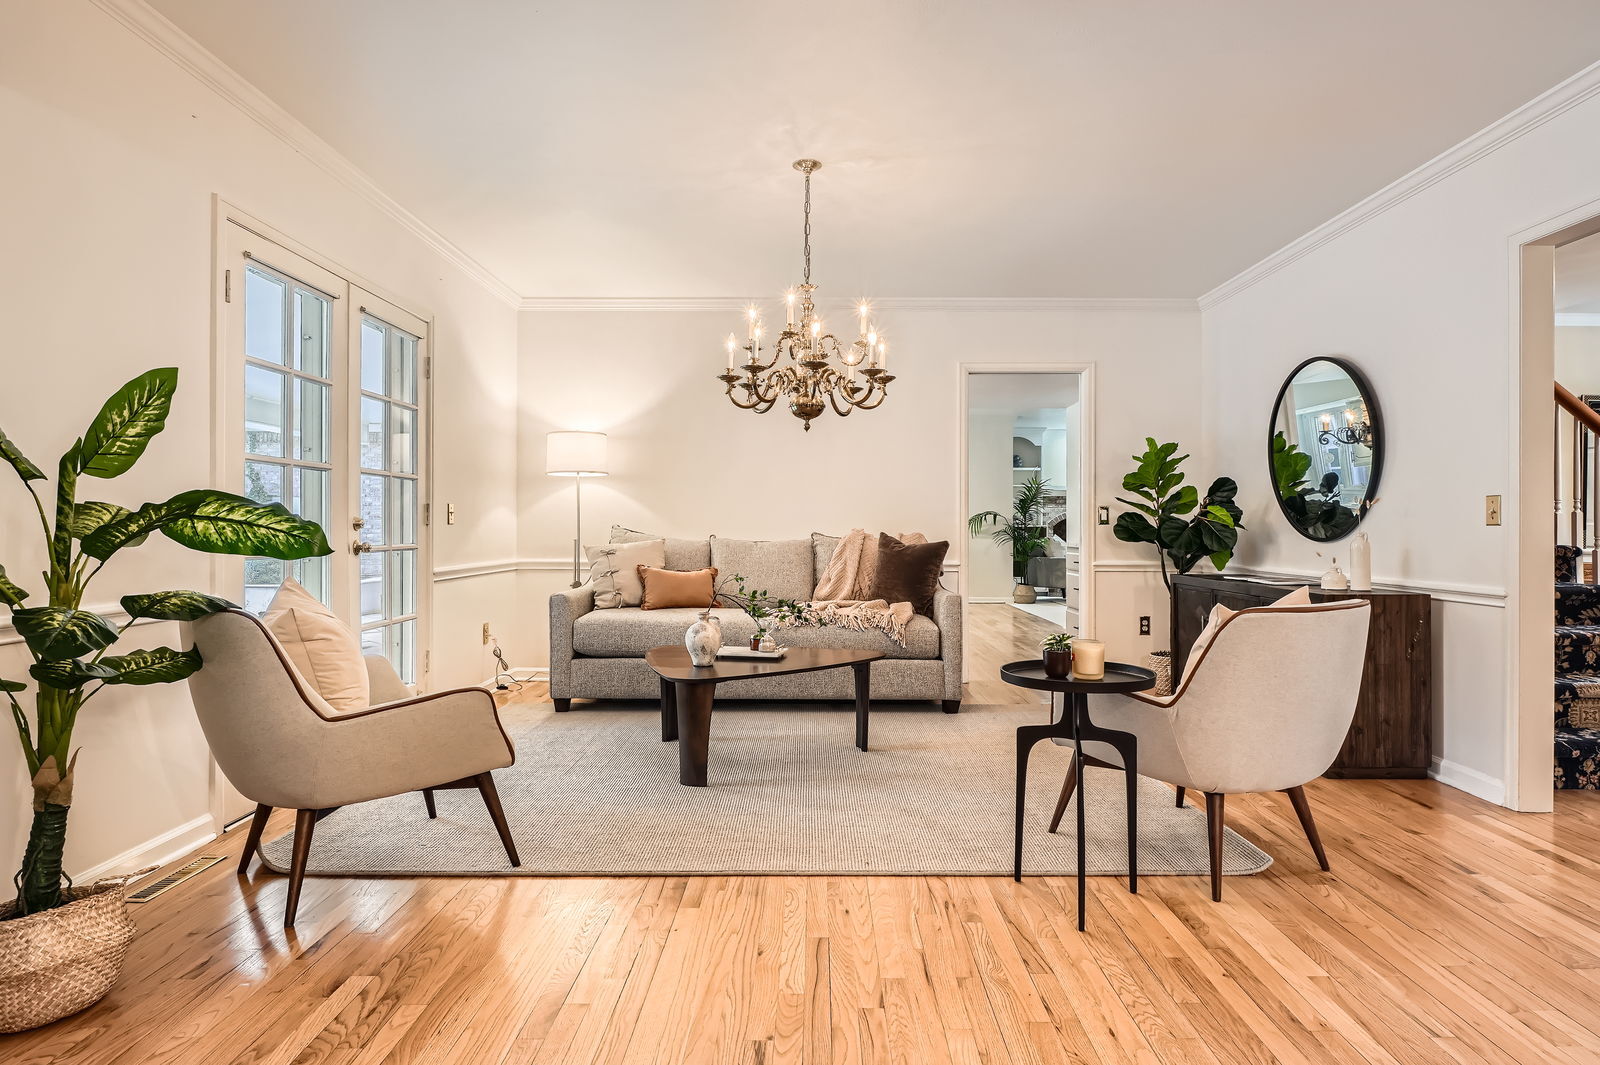
- Living room: Wide shot from the entry perspective (what you see when you first walk in), plus a detail shot of the styled coffee table or bookshelf vignette.
- Kitchen: Wide shot showing the full kitchen from the opposite end, a shot of the island or counter styling, and a detail of any standout feature (range, backsplash, view from the kitchen window).
- Primary bedroom: Wide shot from the doorway showing the full room, plus a straight-on shot of the styled bed.
- Bathrooms: Shot from the doorway showing vanity and tub/shower, plus a detail of styled counter accessories.
- Exterior: Front elevation from across the street, detail of the entry, and backyard/patio from the home looking out.
Styling details that photograph well
The hero vignette
Every room should have one "hero vignette" -- a small styled moment that looks magazine-worthy in close-up. This might be a stack of coffee table books topped with a candle and a small plant. Or a bedside table with a beautiful lamp, a book, and a ceramic dish. Or a bathroom counter with rolled white towels, a stone soap dish, and a sprig of eucalyptus.
These detail shots break up the wide-angle images in the listing and create a sense of lifestyle and quality. They are also the images that perform best on social media when promoting the listing, which is increasingly important for reaching buyers in competitive markets.
The power of odd numbers
When styling vignettes for photography, group objects in odd numbers -- three books, five candles, one large item flanked by two smaller ones. Odd-numbered groupings create visual tension that the eye finds more interesting and dynamic than even groupings. This is a fundamental design principle, but it matters even more in photography where the viewer's eye needs to be guided through the frame.
Color consistency
Ensure that the styling accessories in each room work within a cohesive color palette. If the living room staging uses warm neutrals with brass accents, the dining room should not suddenly introduce chrome and cool blue. Color consistency across the listing photos creates a sense of flow and intentionality that buyers notice, even if they cannot articulate why the listing "feels" better than others.
Our in-person styling team always considers the photographic outcome when placing accessories. A vase that looks beautiful in person might create an odd silhouette in a wide-angle photo. A throw pillow that coordinates perfectly with the sofa might blend in too much and disappear in the image. Styling for photography is its own skill, and it is one our team practices daily.
Post-processing: enhance, do not deceive
The ethical line
Photo editing is standard practice in real estate photography, and when done correctly, it ensures that photos accurately represent how the home looks and feels in person. Adjusting white balance, correcting lens distortion, balancing exposures through HDR blending, and removing minor temporary blemishes (a stray cord, a reflected camera) are all acceptable and expected.
What crosses the line: removing permanent features (power lines, neighboring structures), altering the color of finishes (making dated cabinets look white), adding virtual elements (sky replacements that misrepresent the view), or dramatically altering the perceived size of rooms. These practices create a disconnect between the listing photos and reality that damages buyer trust and agent credibility.
Consistent editing style
All photos in a listing should be edited with the same approach -- consistent brightness, color temperature, and contrast. A listing where some photos are warm and some are cool, or where some are bright and others dark, feels disjointed and unprofessional. Most professional real estate photographers apply a consistent preset to all images, then fine-tune individual shots as needed.
The best real estate photography does not make a home look better than it is. It makes the home look exactly as good as it is -- which, when properly staged, is very good indeed.
Common photography mistakes that kill listings
- Leading with the exterior when the interior is stronger. If the home's exterior is modest but the interior is stunning (as in our Lipan Street project), lead with the hero interior shot to hook buyers before they see the exterior.
- Too many photos of secondary spaces. Nobody needs four photos of the laundry room. Give the primary spaces more coverage and show secondary spaces efficiently.
- Inconsistent vertical lines. Tilted photos where walls appear to lean are the hallmark of amateur photography. Every vertical line in the image should be truly vertical.
- Forgetting the twilight shot. For homes with great exteriors or outdoor lighting, a twilight photograph (shot at dusk with interior and exterior lights on) creates a dramatic, aspirational image that often becomes the hero of the listing.
- Shooting before staging is complete. It happens more often than you would think. Ensure every room is fully staged, cleaned, and prepped before the photographer starts. One photo with a moving box in the corner or a staging tag visible on a pillow undermines the entire set.
Investing in quality photography
Professional real estate photography typically costs $200 to $500 per session, depending on the market and the photographer's experience. This is one of the smartest investments in the entire listing process. Studies consistently show that listings with professional photography receive 118 percent more online views and sell for $3,000 to $11,000 more than listings with amateur photos.
Combined with professional staging, quality photography creates a listing presentation that stops buyers in their tracks. The staging creates the reality; the photography communicates it to the world. One without the other is an incomplete equation.
At Guest House, we coordinate photography as part of our full-service staging process, ensuring that the staging design and the photographic approach work together from the start. For agents who manage their own photography, our design advice team is always available to consult on how to best capture the staged spaces.
Want to see examples of how great photography captures great staging? Browse our Carlsbad case study and Manhattan Boulevard project for real-world examples, or get a quote to start the staging and photography process for your next listing.