
Staging demystified: a step-by-step walkthrough
If you have never sold a home before, the staging process can feel opaque. You know it is supposed to help your home sell faster and for more money. You have seen the before-and-after photos. But what actually happens between the moment you decide to stage and the moment a buyer walks through your beautifully furnished home?
Staging is not about making your home look like a magazine. It is about making it look like the best version of itself to the people most likely to buy it.
Step 1: Getting a quote
The staging process begins with understanding what your home needs and what it will cost. At Guest House, this starts with a Smart Quote—an AI-powered tool that gives you an instant staging recommendation based on your property's details.
You will enter basic information about your home: location, square footage, number of rooms, whether it is vacant or occupied, and your listing timeline. Within minutes, you receive a tailored recommendation that includes:
- The recommended service level (full-service staging, in-person styling, or design advice)
- Which rooms to prioritize
- An estimated cost
- Whether pay at close is available for your property
This is not a binding commitment. It is a starting point for the conversation with your agent and with the staging team.
Step 2: The design consultation
Once you decide to move forward, a Guest House designer reviews your property. For occupied homes, this may include an in-person visit. For vacant homes, the designer works from photos, floor plans, and the property listing.
During the consultation, the designer considers:
- The target buyer. A three-bedroom home near schools in Boulder attracts a different buyer than a downtown loft in LA. The staging should reflect the lifestyle the buyer aspires to.
- The home's architecture and flow. Furniture placement should enhance the home's natural layout, not fight it. Open-plan living areas need different treatment than traditional room-by-room floor plans.
- Light and color. The staging palette works with the home's existing finishes—countertops, flooring, wall colors—to create a cohesive look.
- Photography angles. The staging is designed to photograph beautifully, because the MLS photos are often the buyer's first impression.
What if you are keeping some of your own furniture?
For occupied homes, the designer will identify which of your existing pieces work and which should be stored or removed. This is a collaborative process—the designer is not going to empty your home. They will work with you to find the right balance between your belongings and staging pieces.
Step 3: Preparing your home for staging day
Before the staging team arrives, there is work to be done. This is where many first-time sellers are caught off guard. The staging team is bringing furniture and accessories, but they need a clean, empty canvas to work with. For a comprehensive checklist, see our guide on the prep work most homeowners skip.
At minimum, before staging day you should have:
- Completed all repairs. Patched walls, fixed leaky faucets, replaced cracked tiles, tightened loose hardware.
- Deep cleaned the entire home. Windows, baseboards, grout, appliances, light fixtures—everything.
- Removed personal items as directed by the staging designer. This usually means most wall art, family photos, and personal collections.
- Cleared storage areas. Closets should be no more than half full. Garages should be tidy. Under-sink areas should be clean.
- Addressed the exterior. Landscaping, power washing, front door paint—the staging team focuses on the interior, so the exterior is your responsibility.
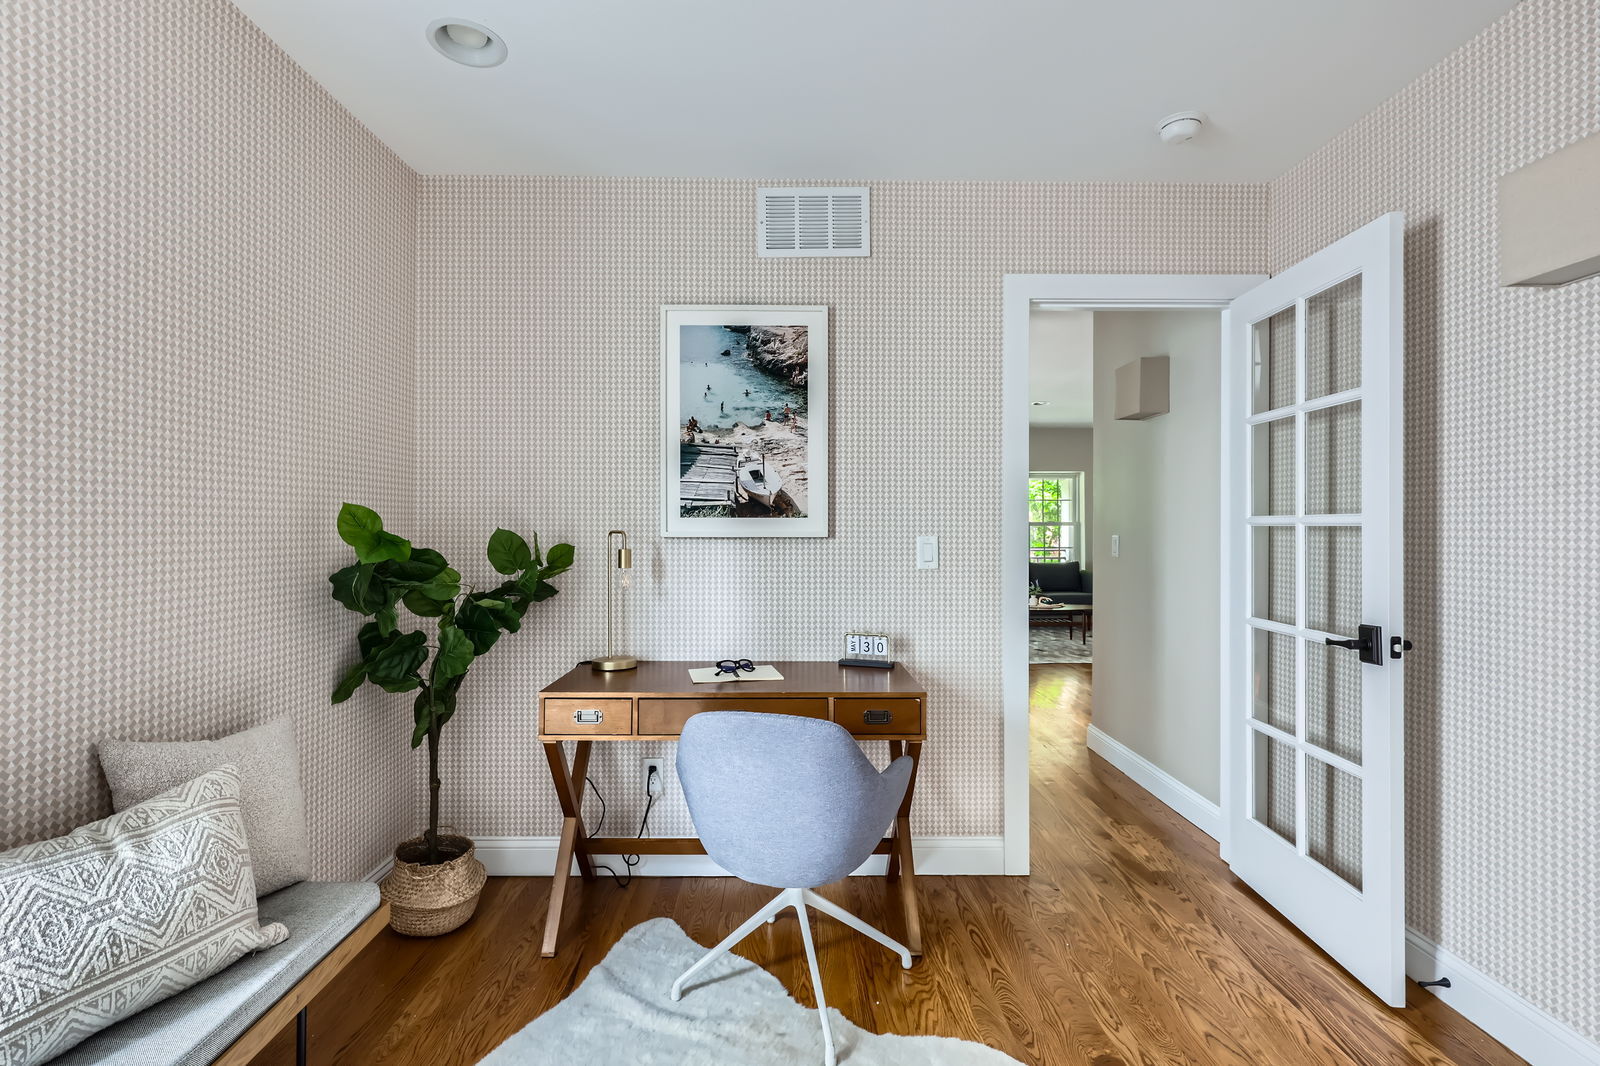
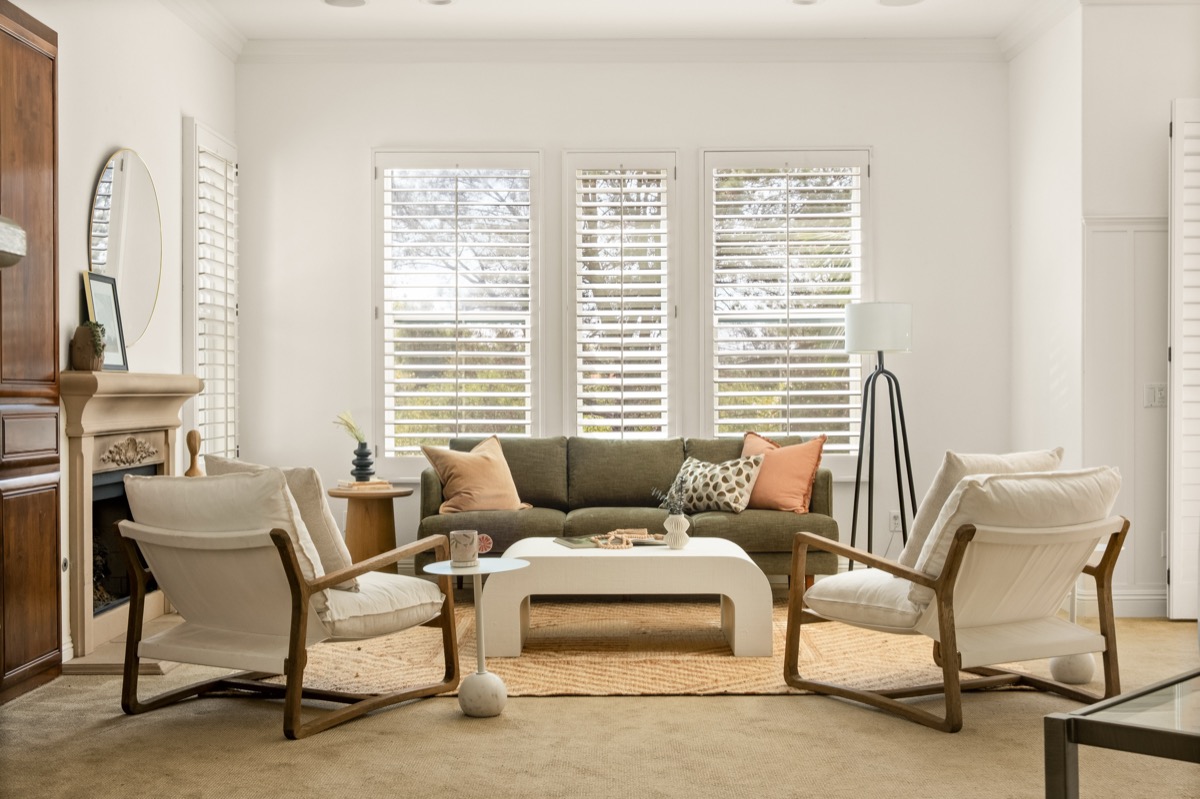
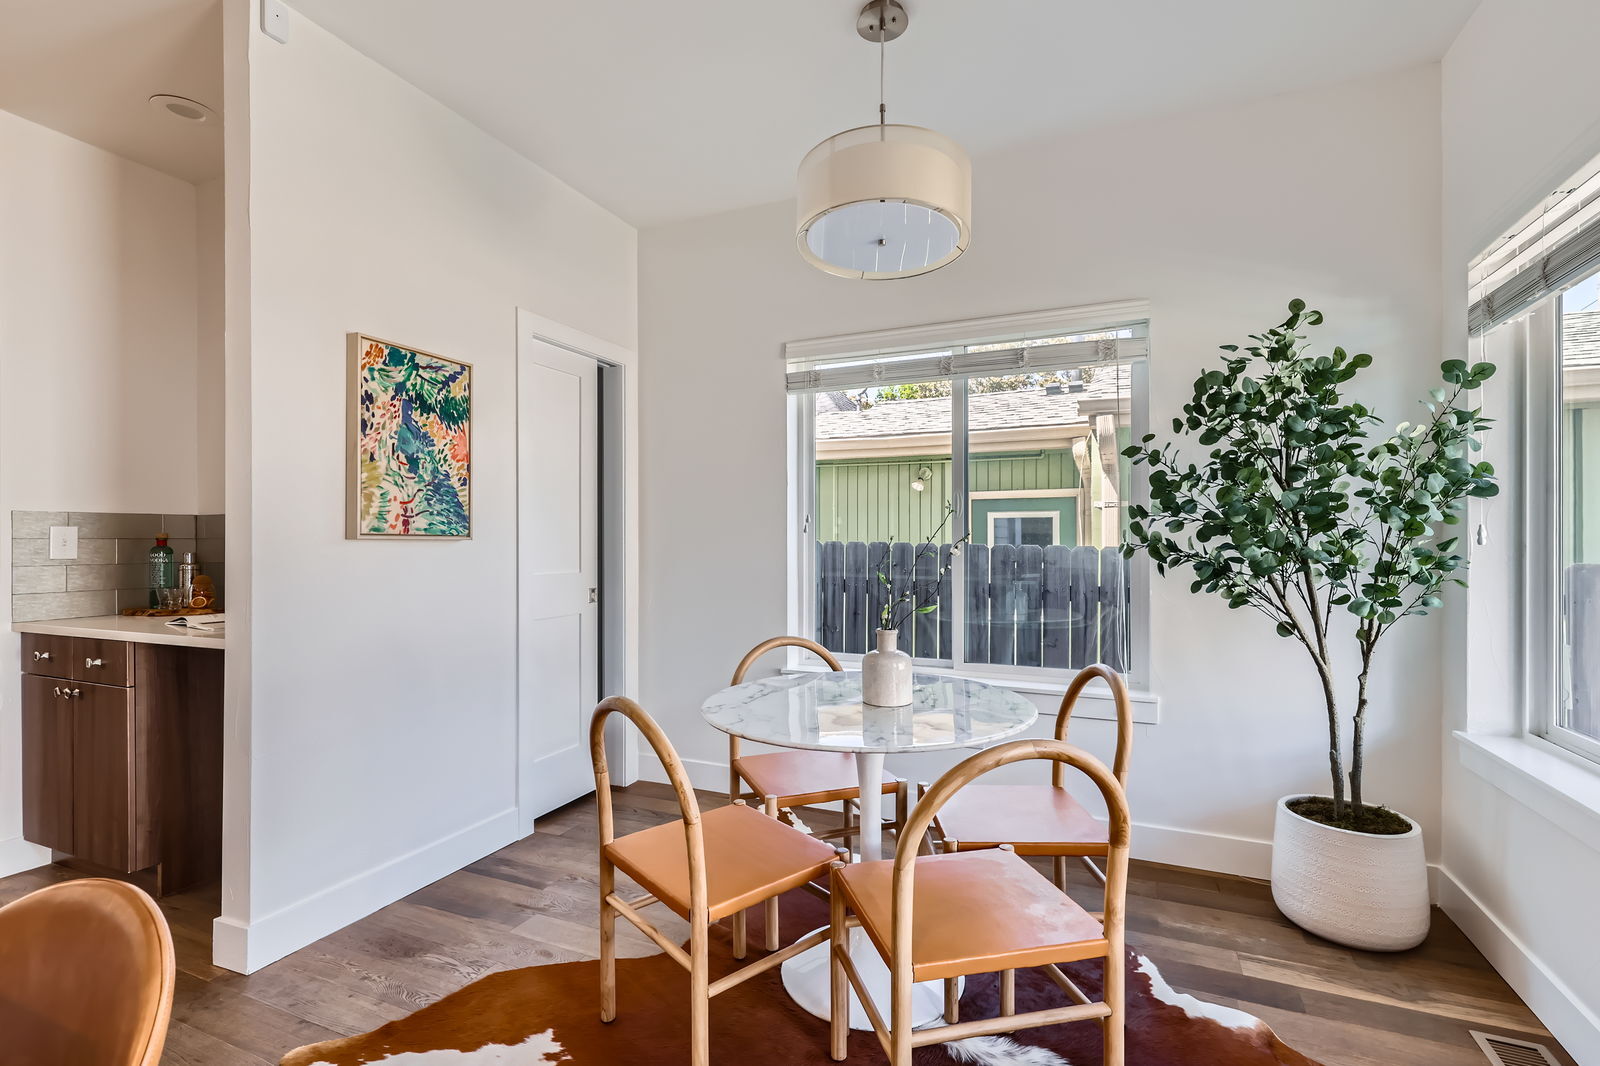
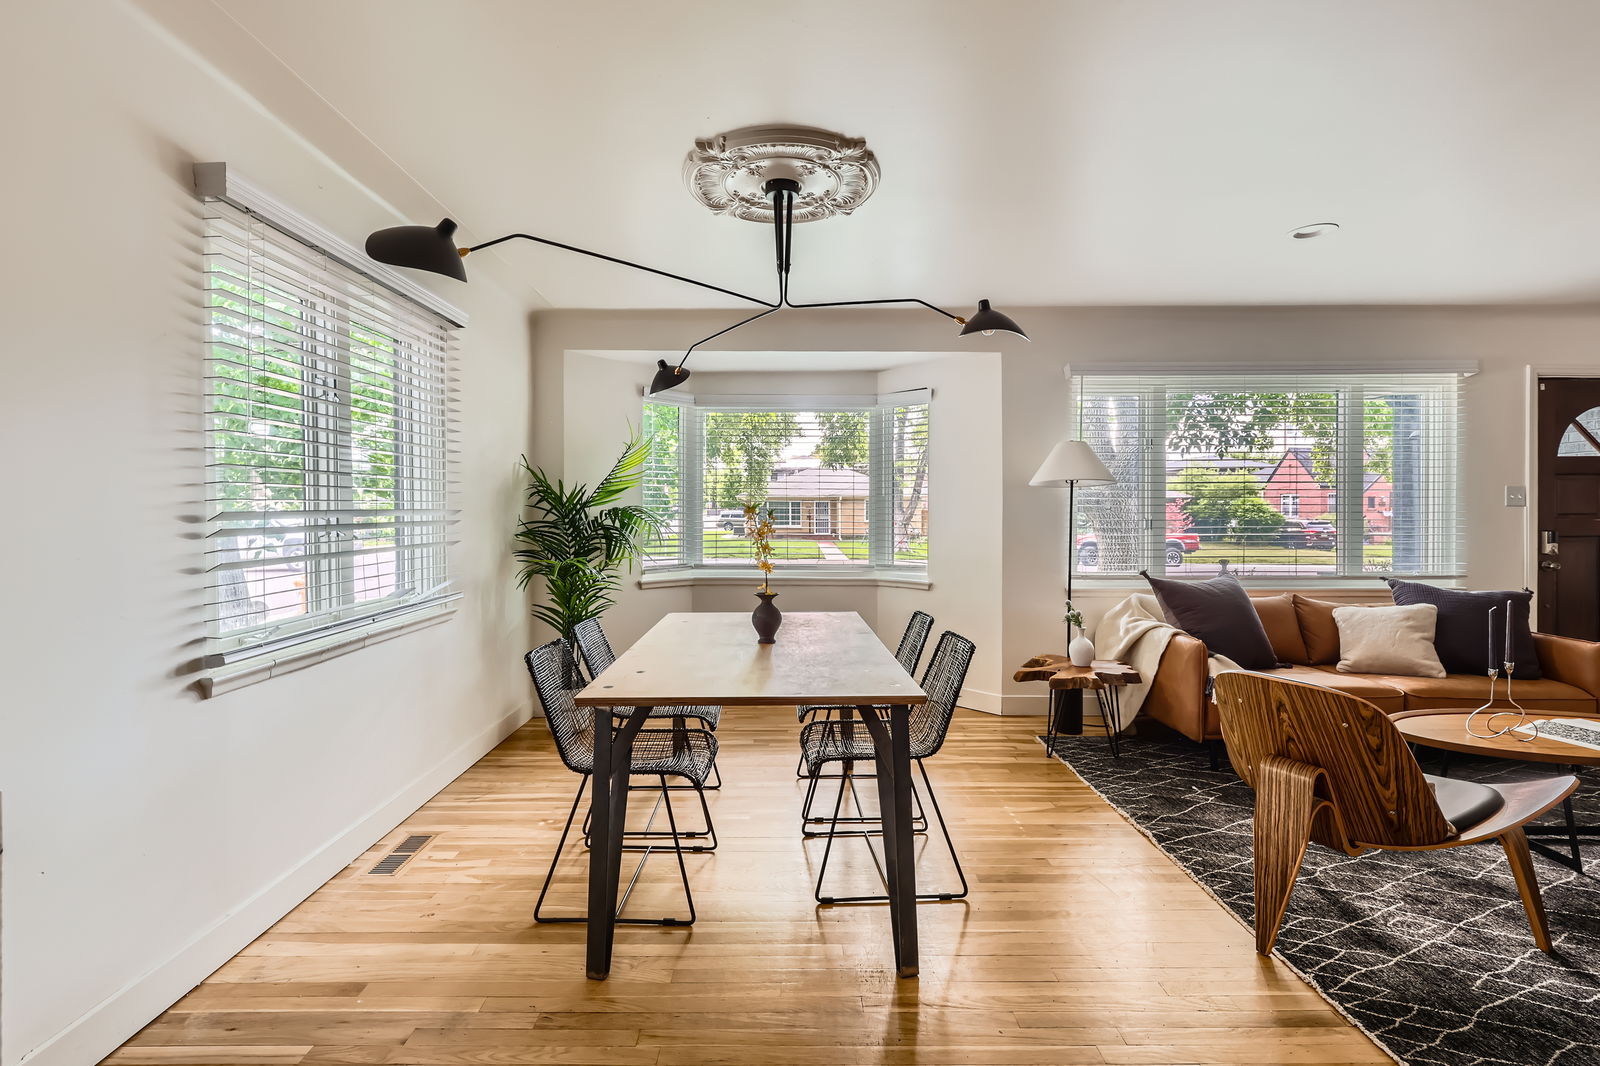
Step 4: Installation day
This is the exciting part. The staging team arrives with a truck (sometimes two) full of furniture, art, rugs, lighting, bedding, and accessories. Here is what to expect:
Timeline
A typical staging installation takes one full day for an average-sized home. Larger homes or complex projects may require two days. The team works efficiently—they have done this hundreds of times and have a system for each room.
What the team brings
- Furniture: Sofas, chairs, dining tables, beds, nightstands, desks, bookshelves
- Rugs: Area rugs sized for each room to define spaces and add warmth
- Art and mirrors: Gallery-quality pieces selected for the home's style and color palette
- Textiles: Bedding, throw pillows, blankets, towels
- Accessories: Books, plants, vases, trays, candles, kitchen items
- Lighting: Table lamps and floor lamps to supplement existing fixtures
Your role on installation day
Ideally, you are not home. The staging team works best with full access to the property and no one underfoot. If you must be present, stay in one area and let the team do their work. They will reach out if they have questions or need direction.
The reveal
When the installation is complete, the designer does a final walkthrough to adjust every detail: pillow placement, book angles, towel folds, and plant positioning. Then you get to see the transformation. For many first-time sellers, this is the moment when the power of staging clicks. The home you have lived in for years suddenly looks like a listing you would click on.
Installation day is when "my home" becomes "the listing." And that shift is exactly what brings buyers through the door.
Step 5: Photography and going to market
Once staging is installed, the home is photographed. Timing matters—photos should happen within a day or two of installation, while everything is pristine. Your agent will coordinate the photographer, and if you want to understand what makes the lead photo so important, read our piece on what MLS data says about lead images.
After photos are complete, the listing goes live. From this point forward, your job is to keep the home in showing condition. This means:
- Keeping surfaces clean and clutter-free
- Making beds daily (matching the staging setup)
- Removing personal items before each showing (toothbrushes, pet bowls, laundry)
- Leaving the home for all showings—buyers need to envision themselves in the space without the current owner present
Step 6: Living in a staged home
If the home is occupied, you will be living alongside staging furniture. This is completely normal and manageable with a few ground rules:
- Do not rearrange the staging. Everything is placed intentionally for photography and showings.
- Use your own bedding for sleeping and swap the staging bedding back before showings.
- Keep a "showing bin"—a basket or box for items you need daily (laptops, chargers, remotes) that can be quickly hidden in a closet before a showing.
- Do not use staging accessories for daily life. The candles are for display. The books are for styling. The throw blanket stays folded.
Step 7: Deinstallation
Once the home is under contract—or the staging period ends—the staging team returns to remove all staging furniture and accessories. Deinstallation is typically faster than installation: half a day for most homes. The team removes everything they brought and leaves the home clean.
If the home has not yet sold and the staging period is ending, talk to your agent about extending. In many cases, keeping staging in place through the contract period (until the buyer's inspection and appraisal) is worth the additional cost.
What staging costs—and what it returns
The return, however, is consistently strong. Staged homes across our portfolio sell faster and at higher prices than comparable unstaged homes. And with pay at close, you do not have to pay until the home sells—so the staging pays for itself from the proceeds.
See the impact firsthand in our case studies: 836 Carlsbad, 3640 Lipan, and 500 Manhattan all demonstrate the tangible results of professional staging for different home types and markets.
Ready to get started?
The staging process is more straightforward than most first-time sellers expect. It starts with a single step: get your free Smart Quote and find out exactly what your home needs to sell at its best. From there, Guest House handles the design, logistics, delivery, and installation. Your job is to prepare the home and then let it shine.